Civil Engineering, Structural Health Monitoring, Fracture Mechanics Testing
Measurements as strong as steel!
Material Testing
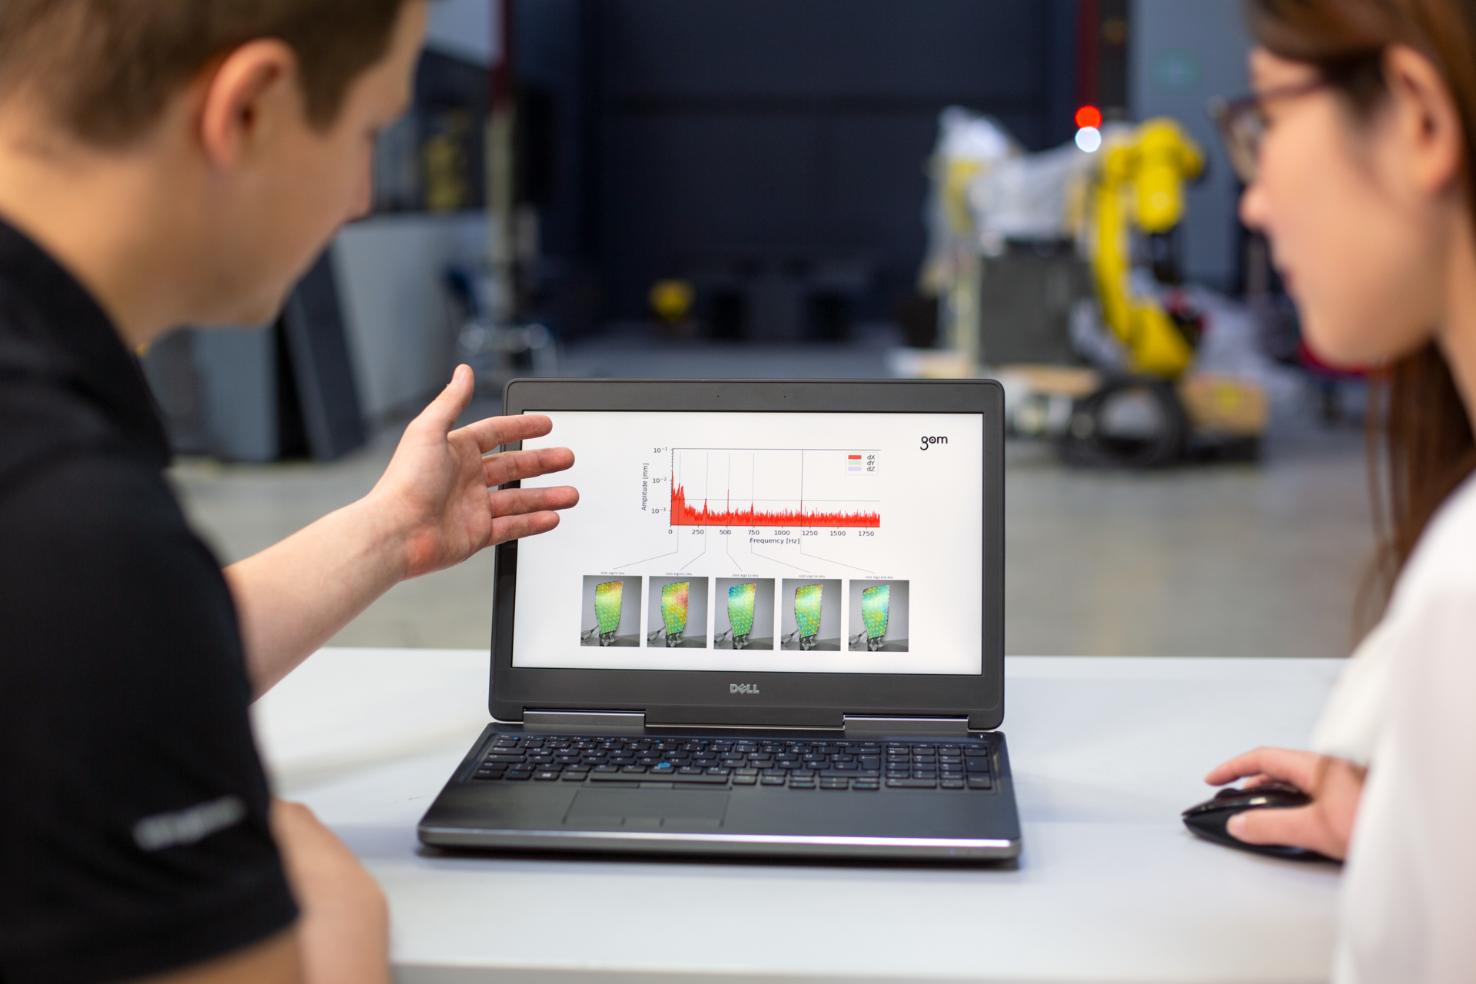
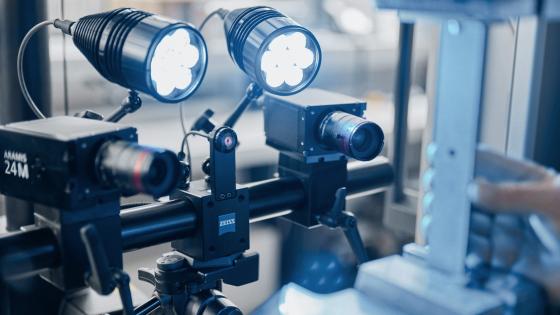
ARAMIS is a non-contact form of measurement that will not affect your material’s response during testing. Instead of achieving strain or displacement results at a few single points, as you would with traditional sensors, ARAMIS will give the user full-field data, resulting in thousands of data points. This allows the user to see and understand phenomena within the material that could not be otherwise observed. With materials such as concrete, cracking can be very complex. Often, the cracks are too small to observe with the naked eye. ARAMIS can easily measure the strain before cracking, the rate and magnitude at which the crack expands, the location of cracks, and many other measurements.
No data point is predefined with ARAMIS. Once the images are collected, and the areas of interest are determined post-test, the user can go in and place down gauges wherever they want. You also have the ability to adjust the density of the data mesh to view both local and global effects.
Structural Health Monitoring
With ARAMIS, the user can make a baseline measurement of a structure and monitor its health over a long period of time. This will allow you to observe the structural integrity as it is exposed to environmental conditions, working conditions, standard loads, and other factors. These measurements can be taken over seconds, minutes, hours, days, months, or years depending on what the user would like to observe.
In the example below, a baseline measurement was taken of a crack discovered underneath a bridge. After 6-months, the engineers came back and took new measurements to compare to the baseline. They discovered that the crack was, in fact, active and expanding at an alarming rate. Having this full-field insight made the results very intuitive. The measurements took them minutes to make, and they achieved thousands of data points across the patterned section.
Fracture Mechanics
Capturing and analyzing the fracture of brittle materials such as concrete, carbon fiber, or glass is a powerful feature of ARAMIS when paired with high-speed cameras. This allows the user to take a deep dive into how and why the specimen failed the way it did. Images can be acquired with high-speed cameras and imported into our analysis software to be analyzed just as any other set of ARAMIS images would. These cameras can achieve frame rates into the millions of frames per second, giving the user enough temporal resolution to characterize the fracture of any material.
Large-Scale Testing
There is virtually no limit to the scale at which ARAMIS measurements can be performed. Since these systems use optics, it is only a matter of switching out lenses and changing the hardware geometry to move from a very small to a huge field of view. With ARAMIS, the user can measure the global response of large-scale structures such as bridges, wind turbines, platforms, or walls of a structure. Strain measurements can be achieved by using the randomized speckle pattern, or the user can observe single points of displacements by using single-point markers.
Multiple systems can be daisy-chained together to achieve the necessary special resolution if localized results are desired. These smaller sections can then be aligned together based on a 3D point cloud created with our TRITOP Optical CMM system. Multi-system measurements also allow the user to measure all the way around large or small structures by using this same method.
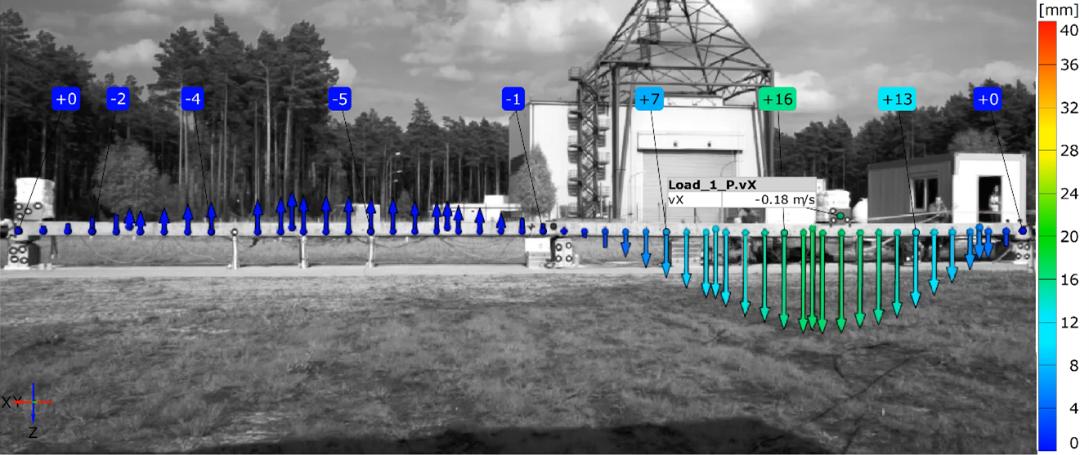
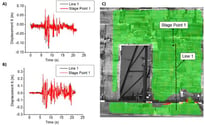
Large-Scale Displacement Measurement of Reinforced Concrete Bridge with Sliding Load Using ARAMIS
White Papers:
Product highlight
Our ARAMIS SRX platform is extremely reliable and was designed with material testing in mind. It's rigid fixed camera base offer unparalleled calibration stability and ease-of-use.
.jpg)
Find out more
2 min read
ZEISS ARAMIS 1: A Strategic Second Sensor
Walter Schnapp: Feb 24, 2026
1 min read
Moving Quality Upstream: A Smarter Path to Precision
Ben Eisdorfer: Nov 19, 2025
1 min read
WEBINAR: Next-Gen Digital Material Testing: ASTM-Certified Precision
Ben Eisdorfer: Sep 24, 2025
Revolutionizing Testing with Optical Strain: Workshop at LIFT
August 6, 2024, Detroit, MI
Learn more »Testing with DIC: Workshop at Stress Engineering Services
August 20, 2024, Cincinnati, OH
Learn more »Want to learn more?
Our team can discuss and demonstrate most of our products and applications virtually to you today!
